

Tile & stone installation · South Bay, Peninsula and coast, plus Merced County
Tile and stone,
set right.
Showers, floors, patterns and fireplaces across the South Bay, Peninsula and coast.Showers, large-format floors, patterns and fireplaces for homeowners, builders and remodelers.
5.0 from 6 Google reviewsCSLB #880089
On screen: Living area · Black-and-gold large-format floor

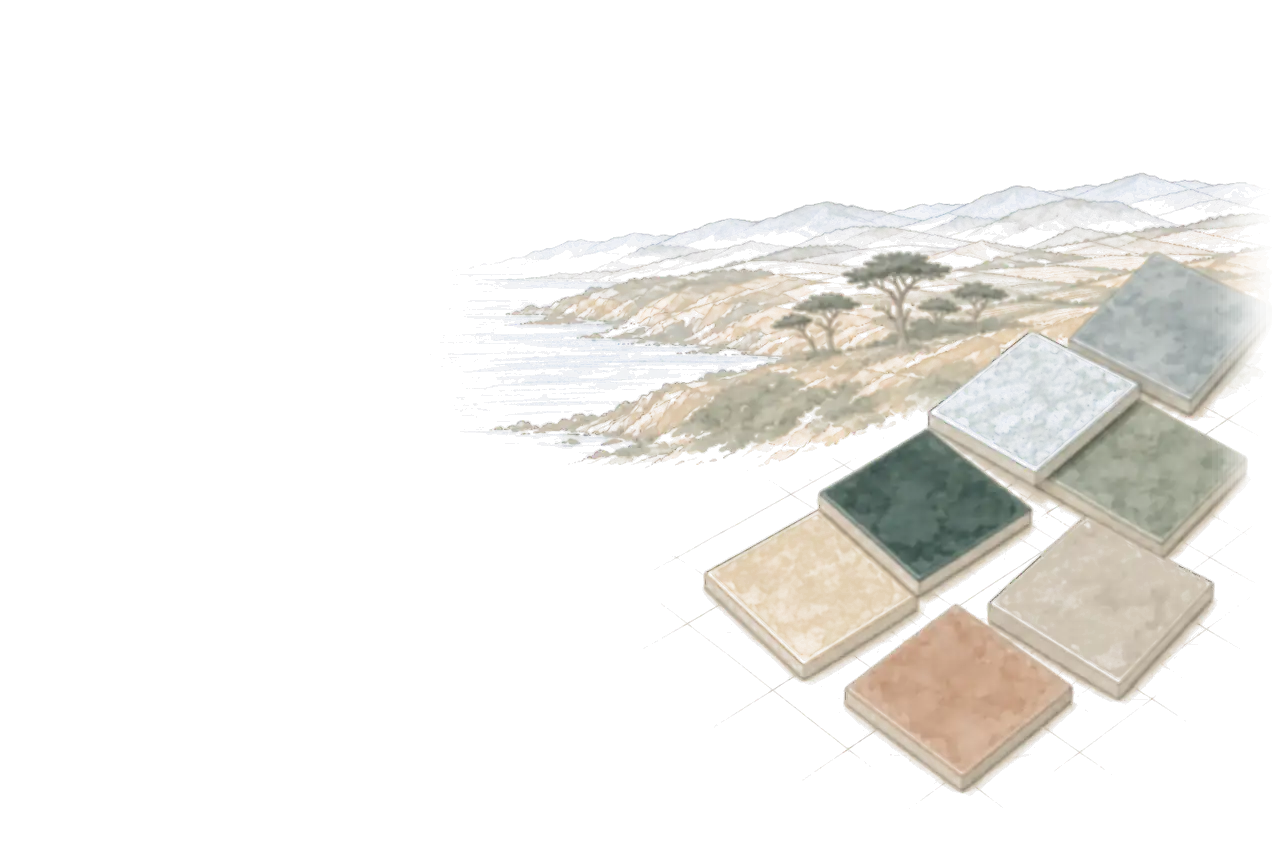
What we install
Tile and stone, wherever it goes in your home
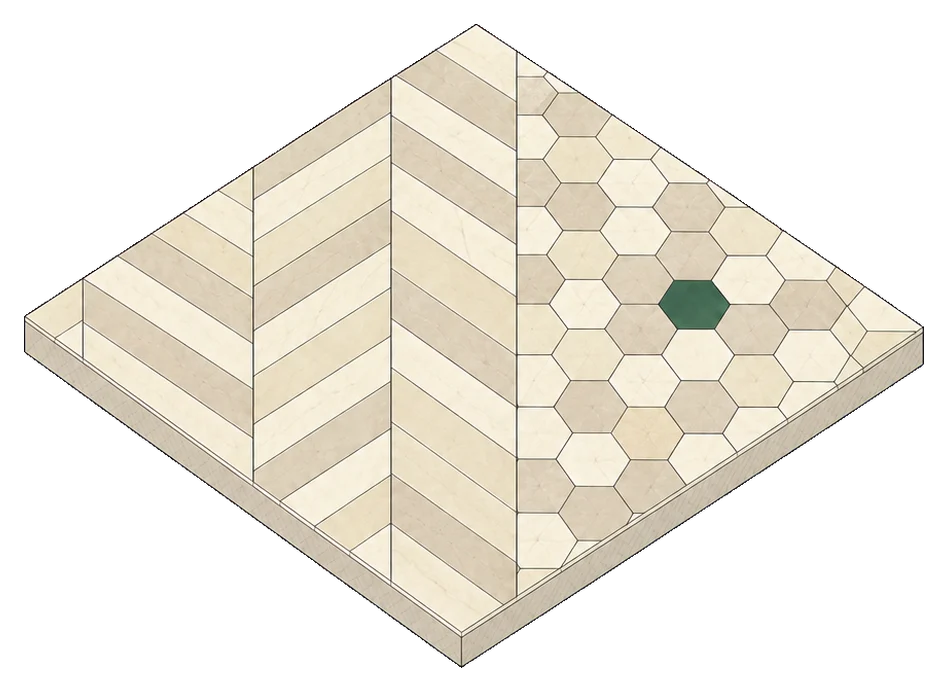
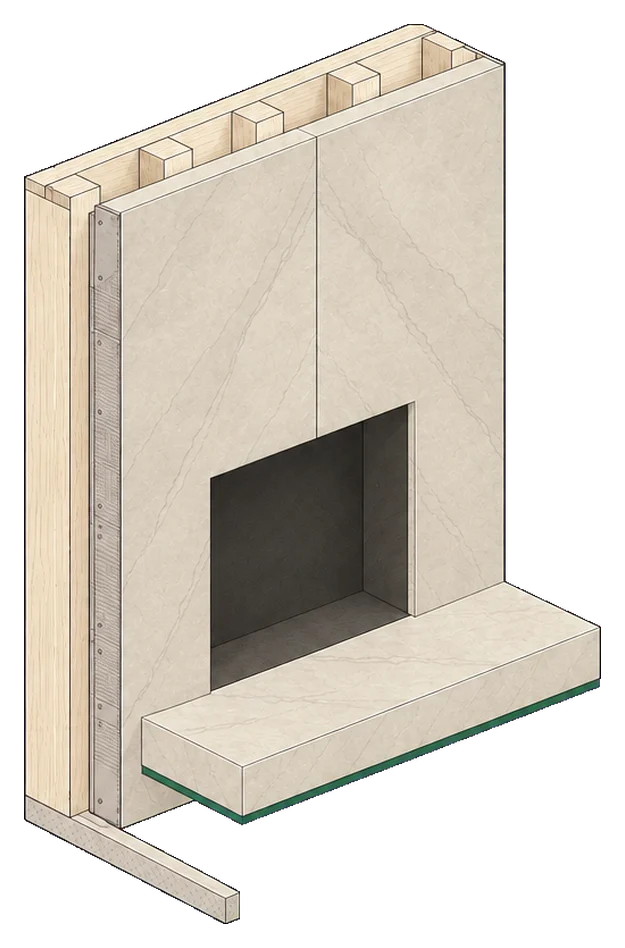
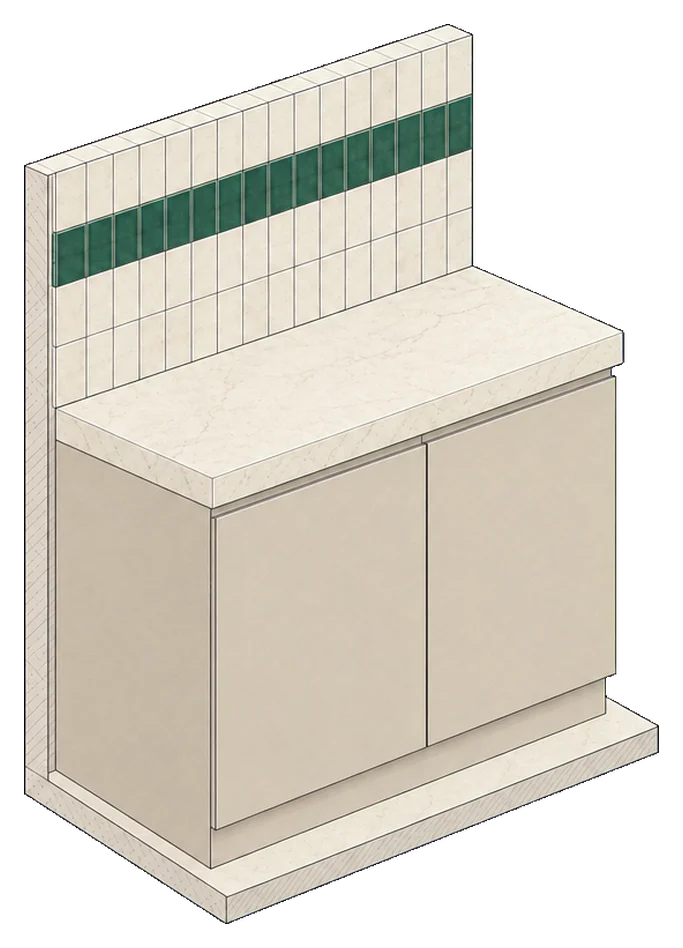
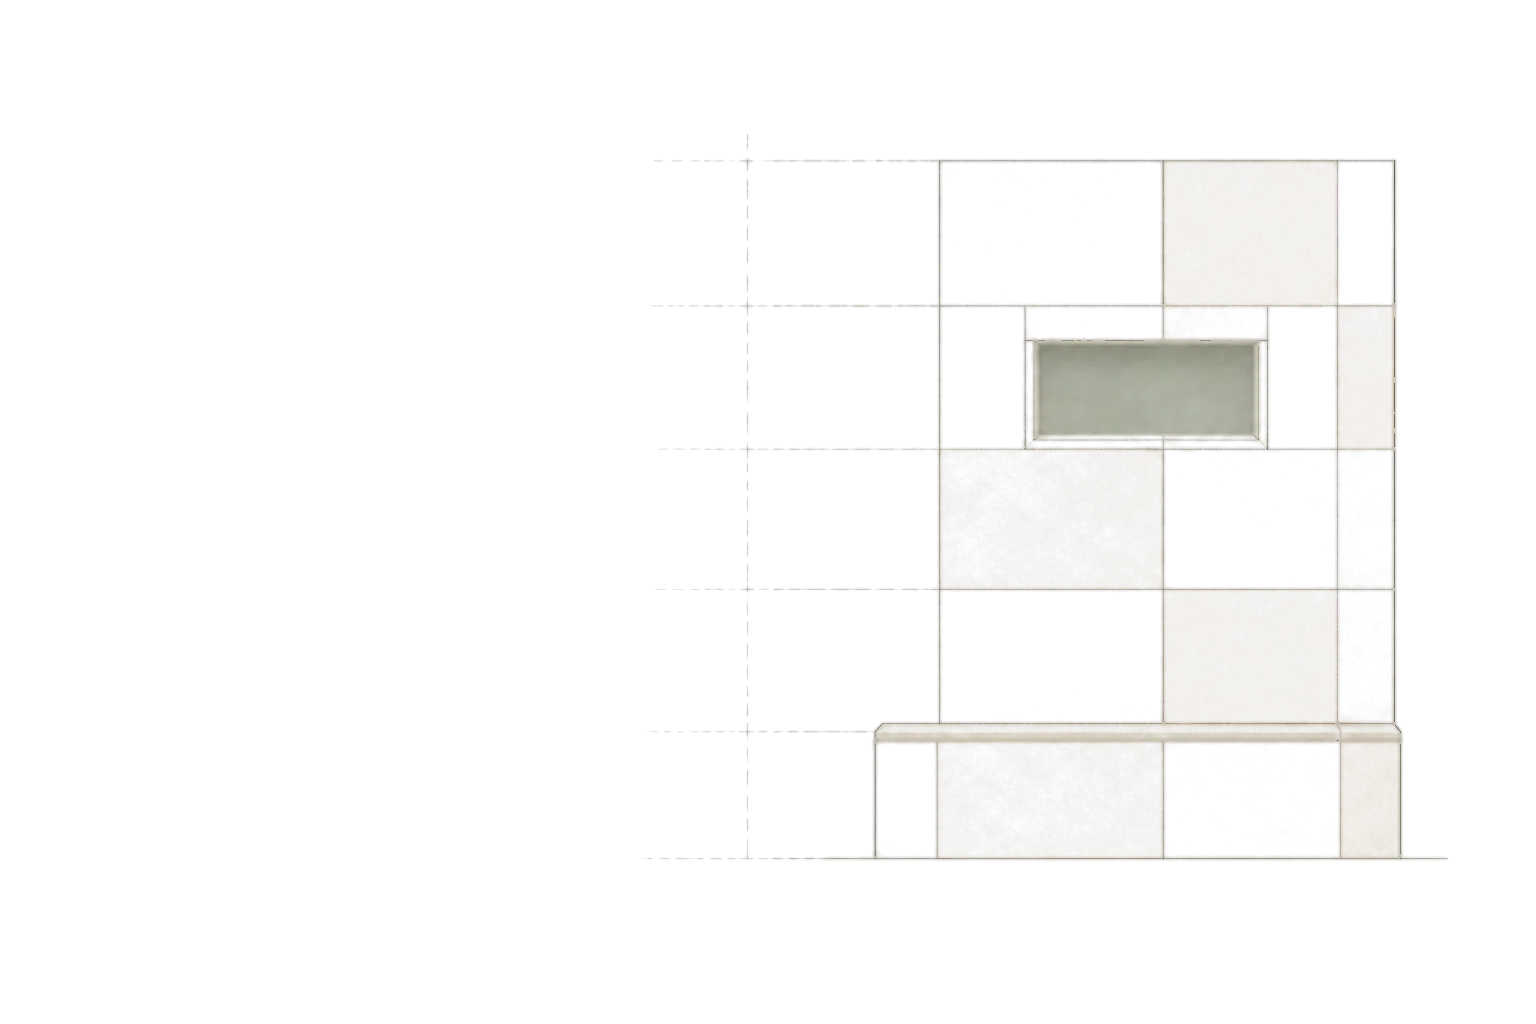
Each drawing shows the job. Watch our own photo of it get set over the top, piece by piece.
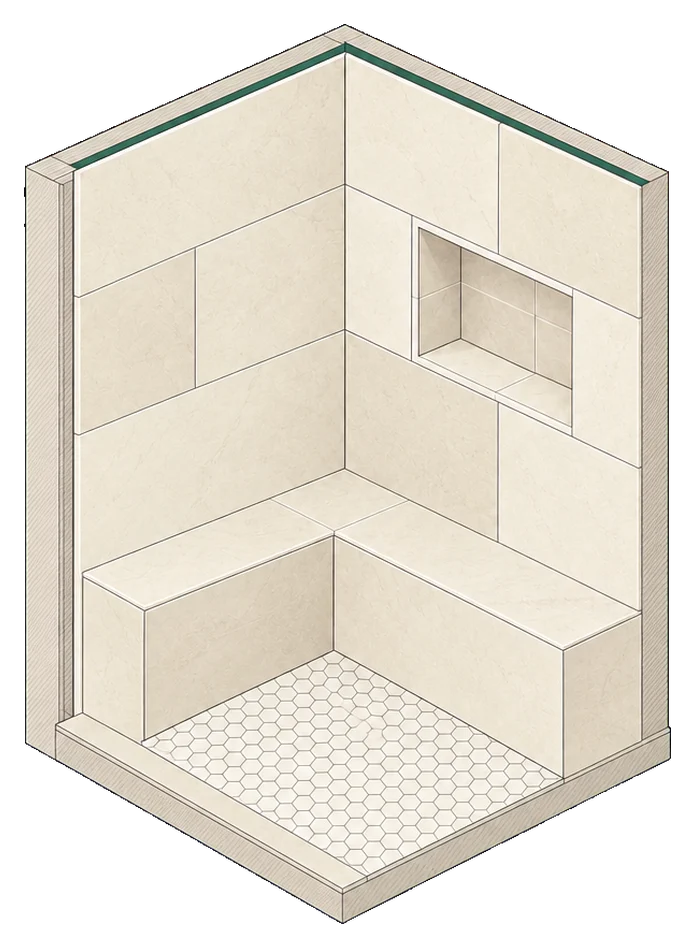
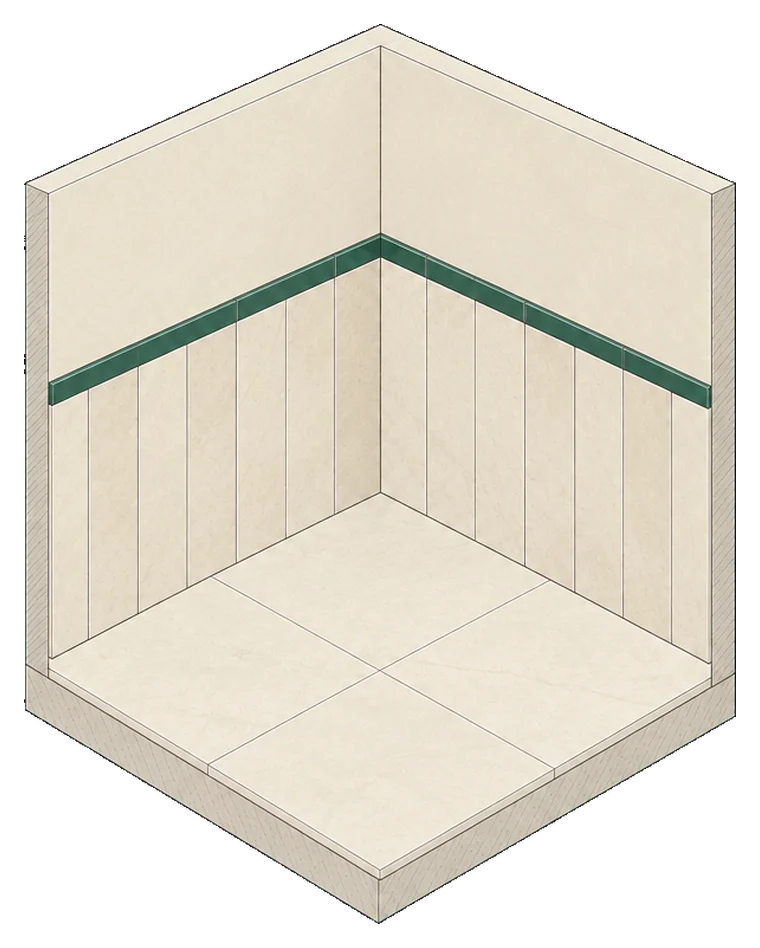
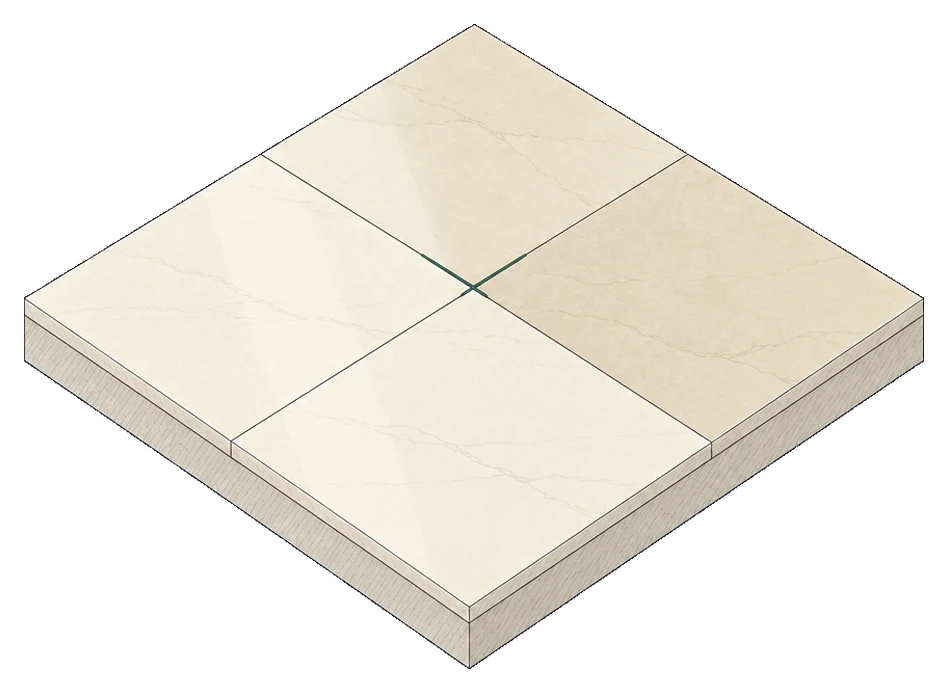
How we set tile
The parts you can't see decide how it looks for years
Good tile work comes down to what happens before and under the tile. Scroll through the layers.
- 01
A flat, solid base
Before any tile, the floor or wall is checked with a long straightedge and corrected. Big tiles show every dip.
- 02
The waterproof layer
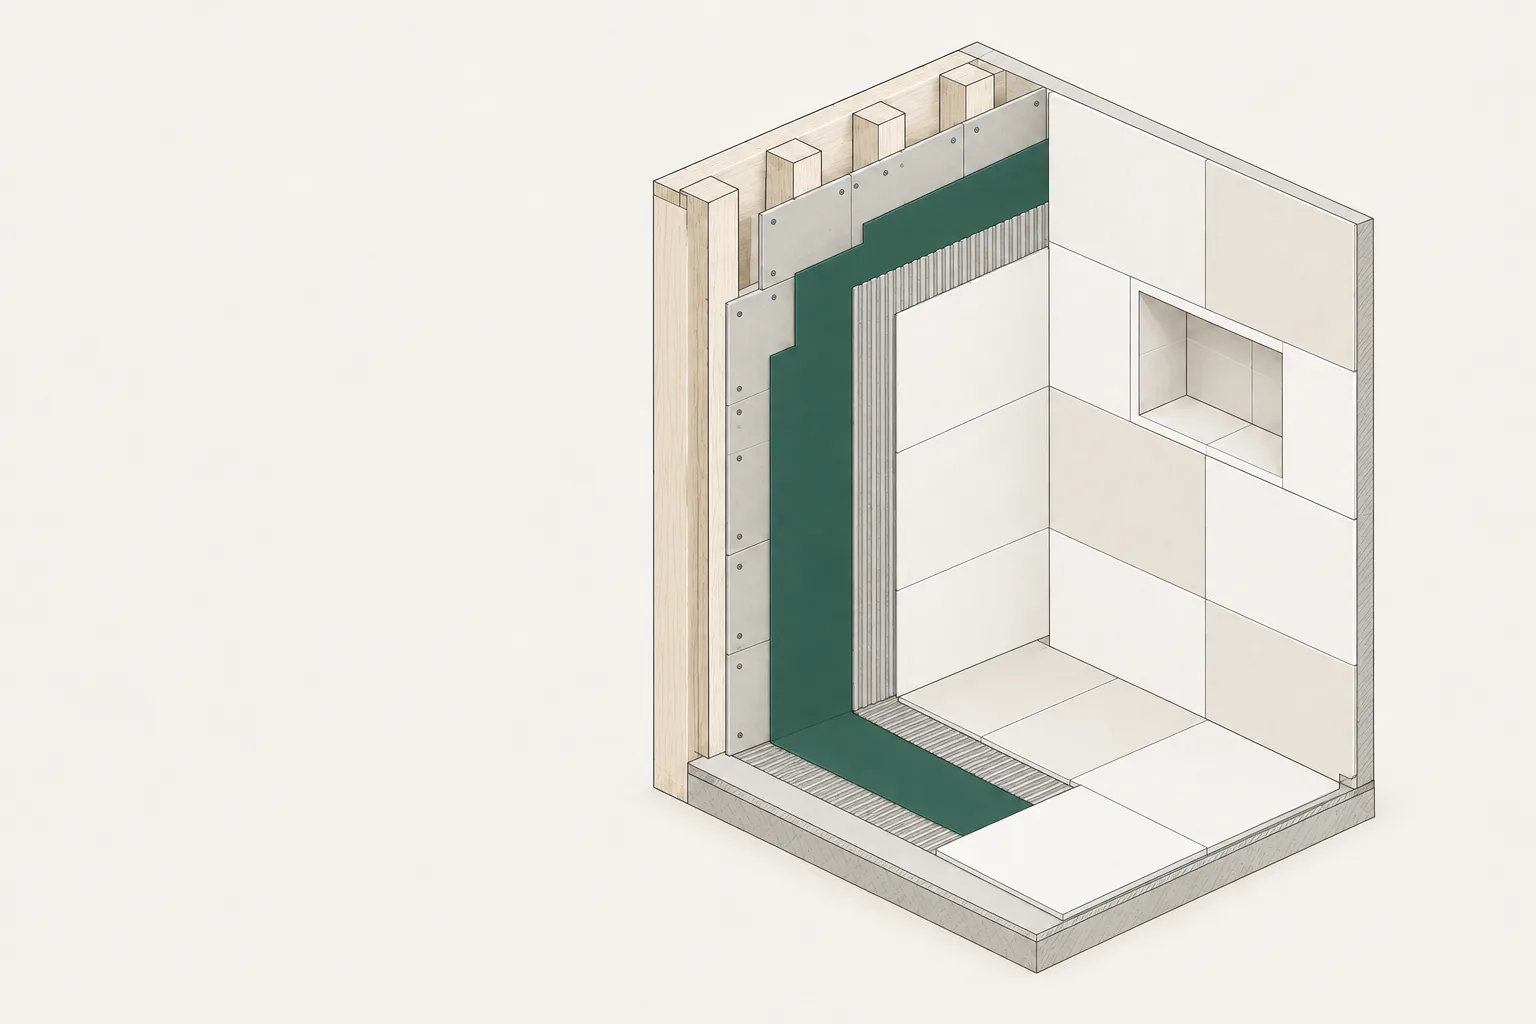
In showers and wet areas, a waterproof layer covers the base. Tile and grout alone don't keep water out.
- 03
A full bed of mortar
Mortar is combed out and each tile is pressed in for full contact, so there are no hollow spots to crack later.
- 04
Laid out from the centre
Tiles start from a centre line, so the cut pieces at both edges match and the pattern looks planned.
- 05
Grout and finished edges
Joints are filled evenly and edges are finished, then we walk the work with you.
Details you can see
Drawn to explain, photographed to prove it
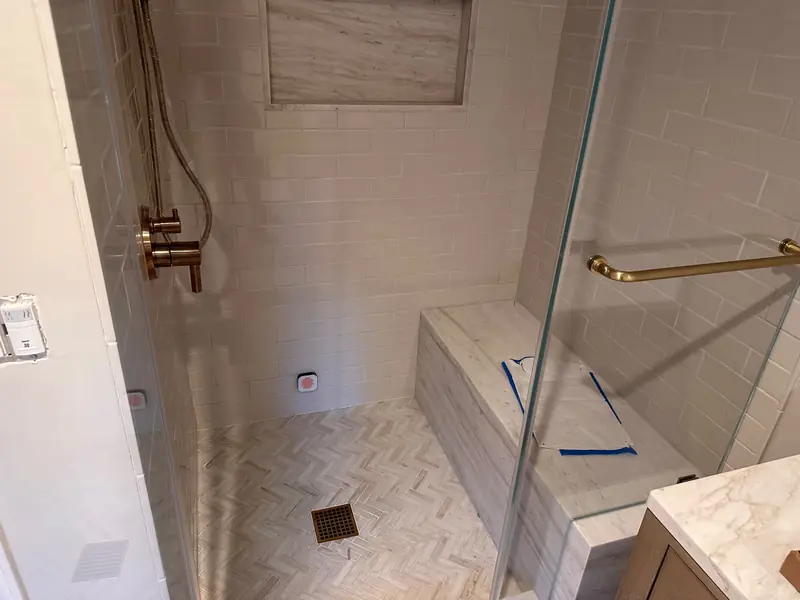
Each drawing shows one detail. The photo beside it is the same detail on a Santos job.
On a Santos job The layer behind the tile
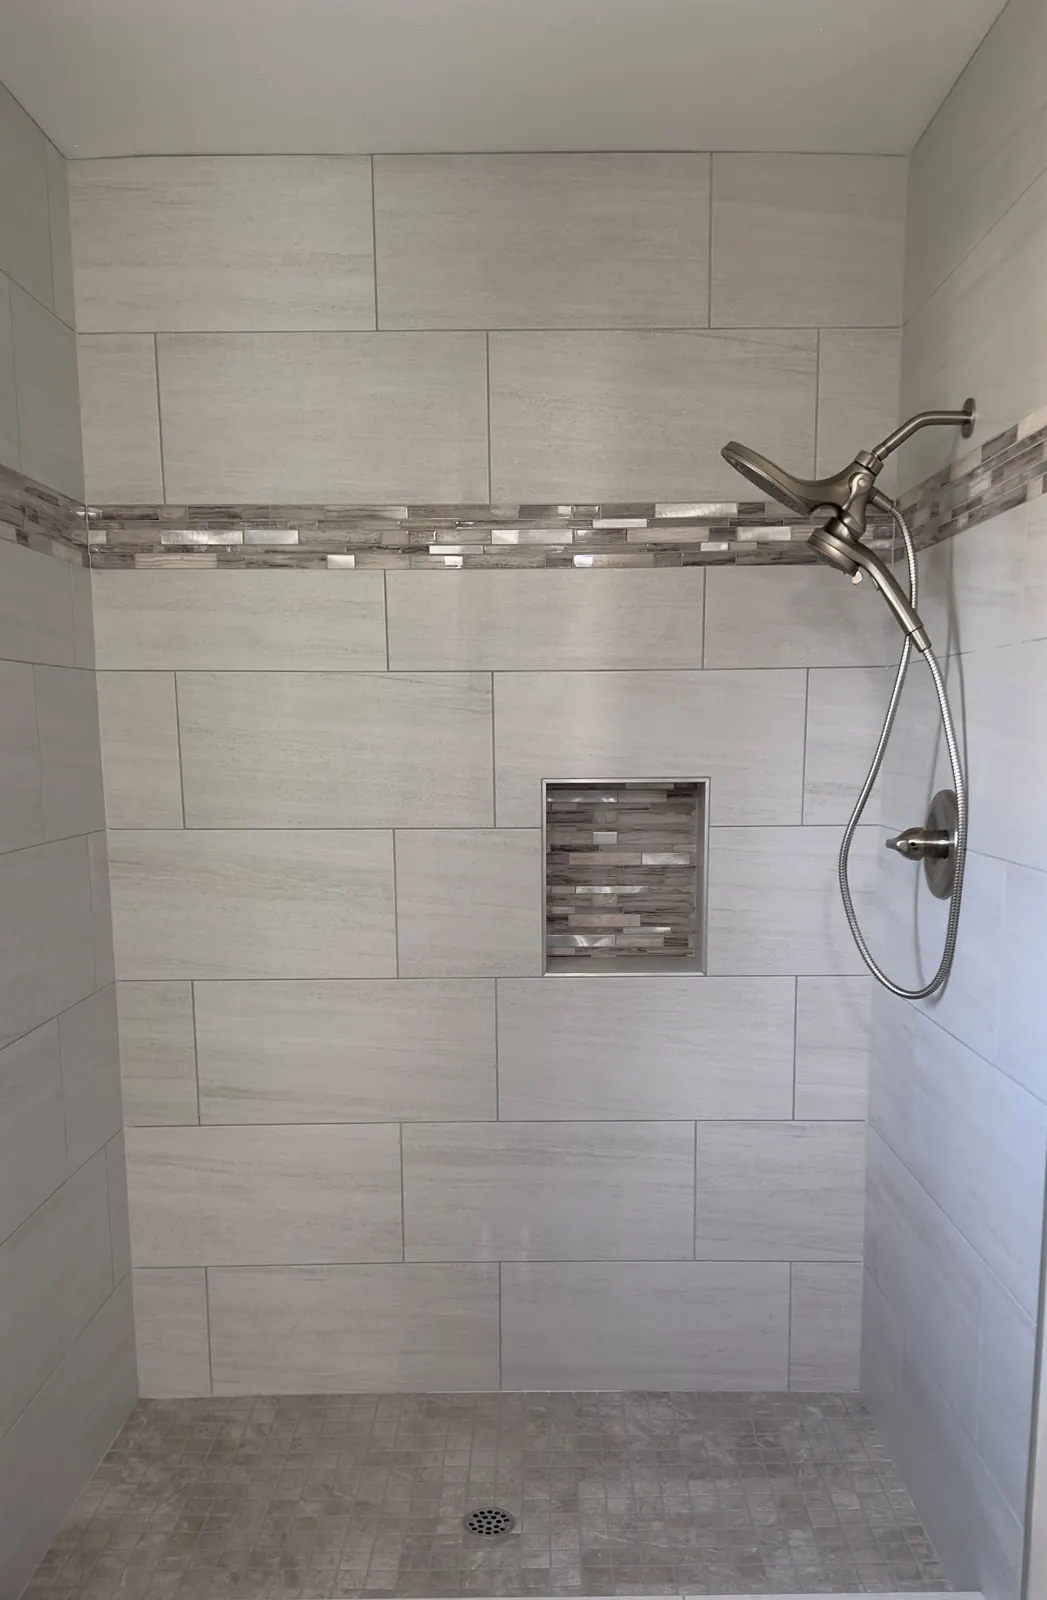
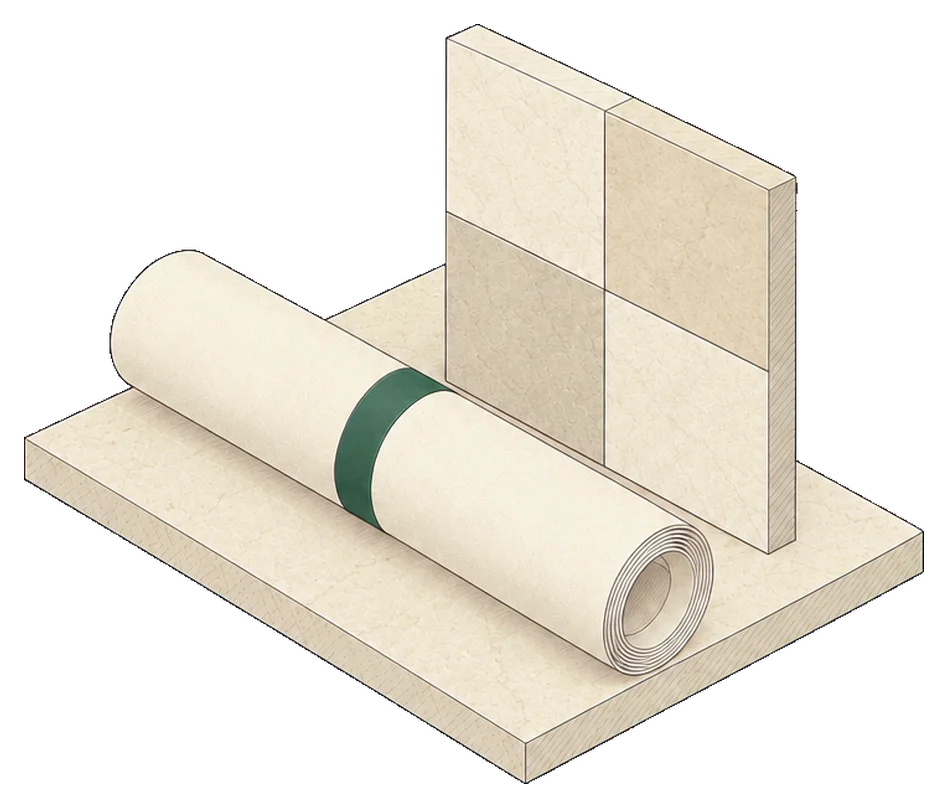
Tile and grout aren't waterproof. In every shower, the green layer goes on the walls and floor first, wrapped into the corners, and the tile is set on top.
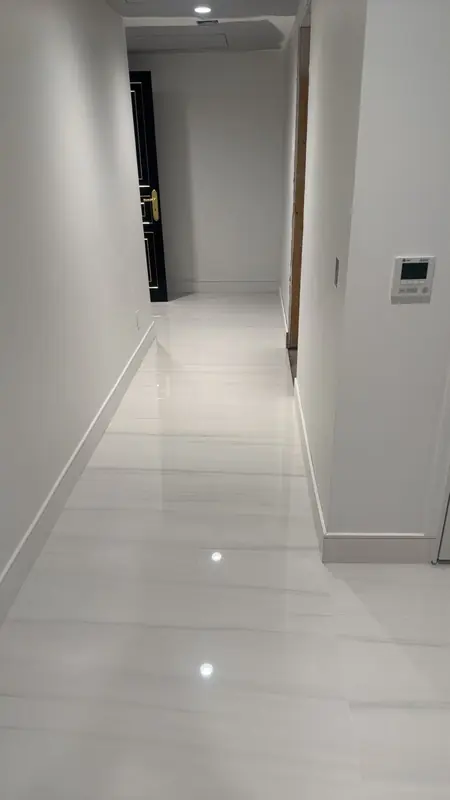
On a Santos job Flat, edge to edge
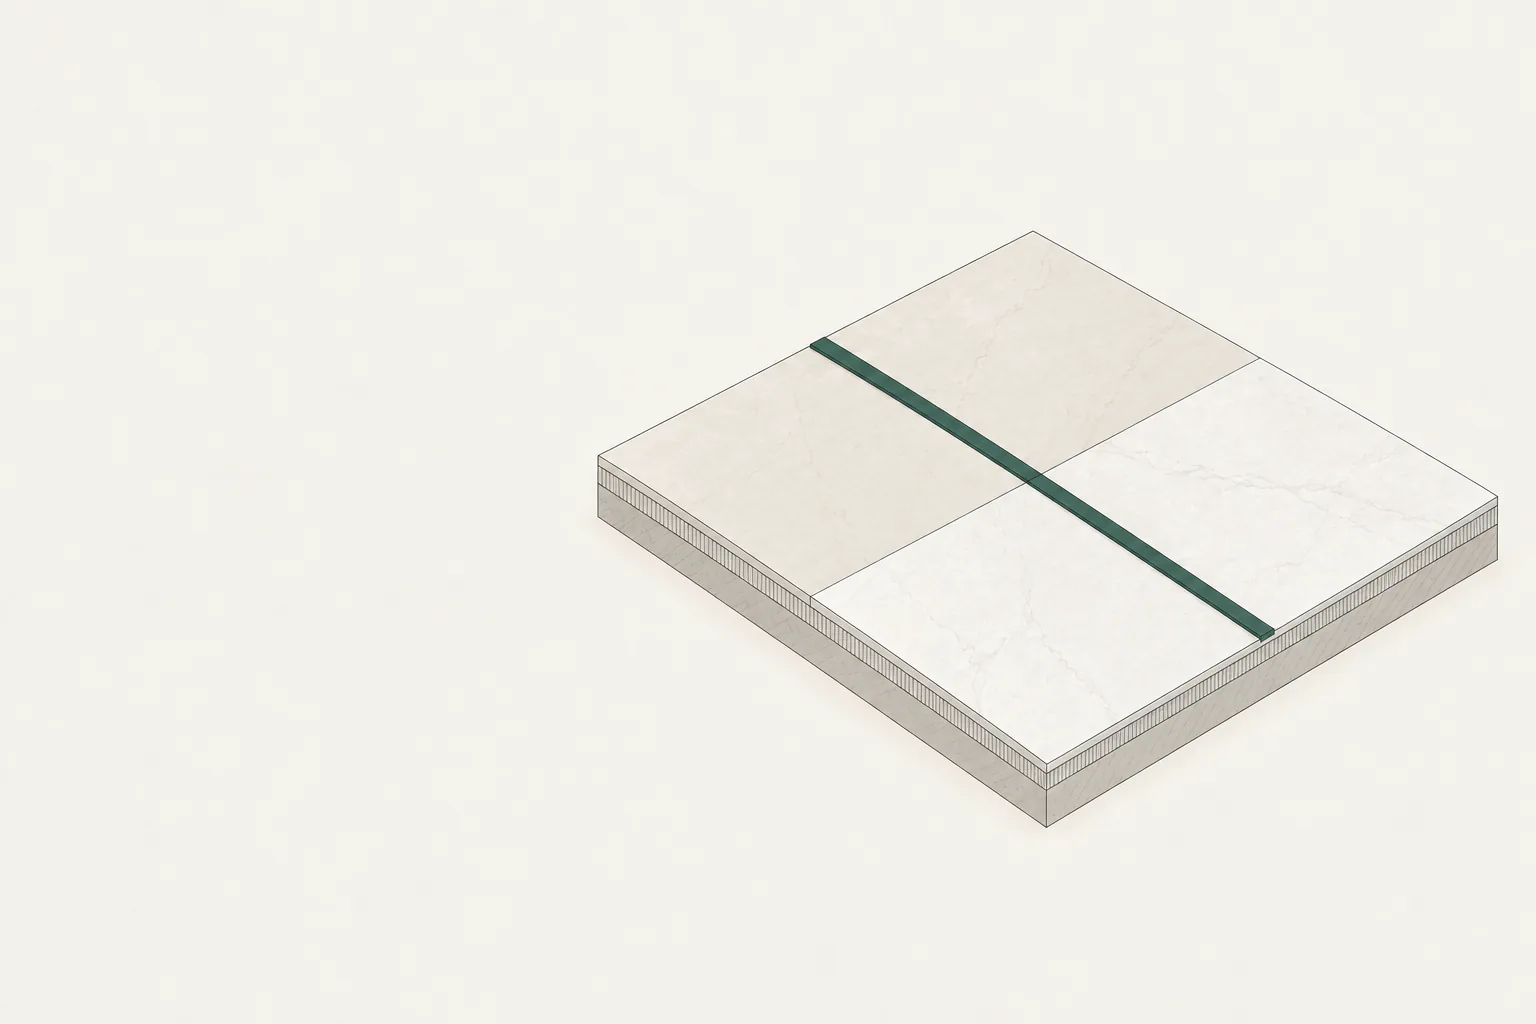
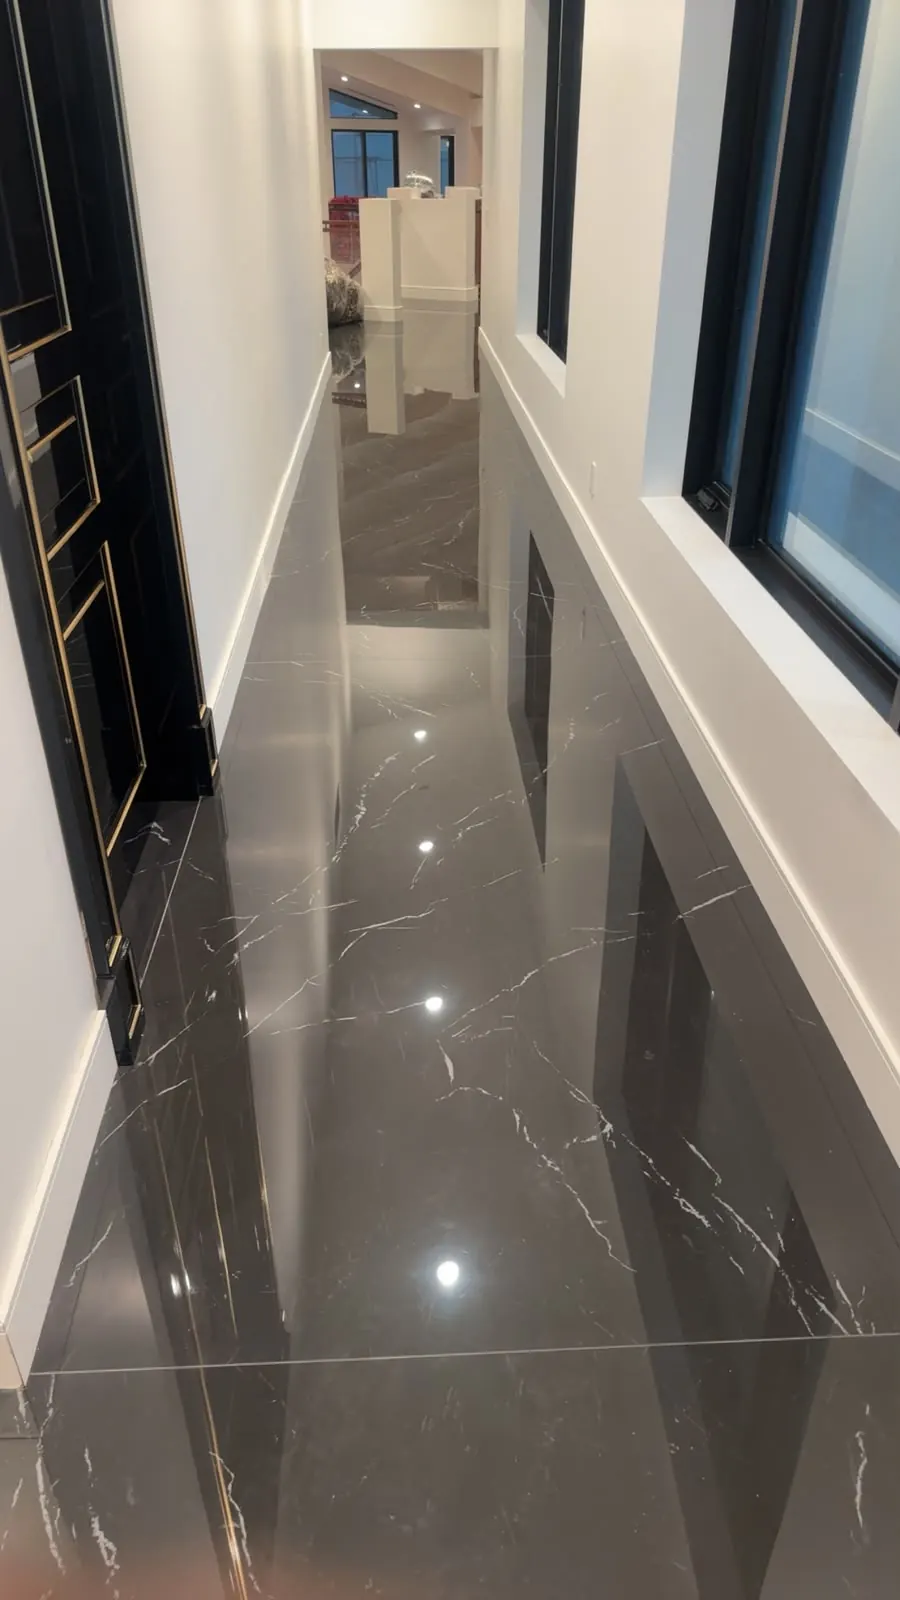
A long straightedge laid across the joints should touch everywhere. That's how a big-tile floor stays smooth underfoot and in raking light.
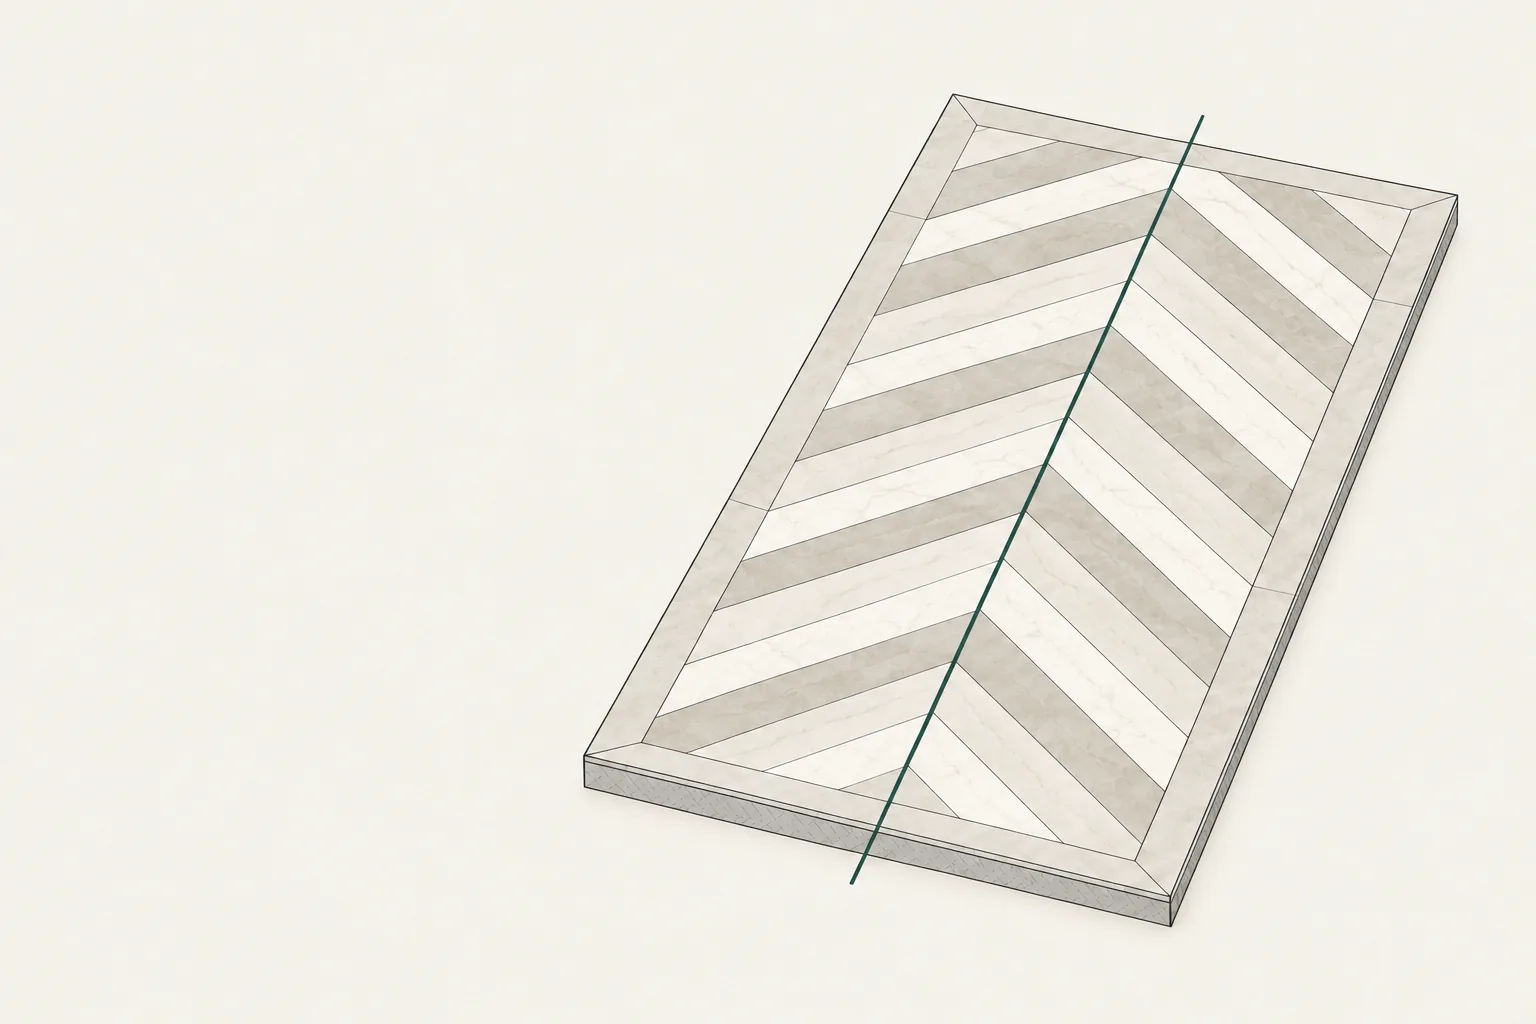
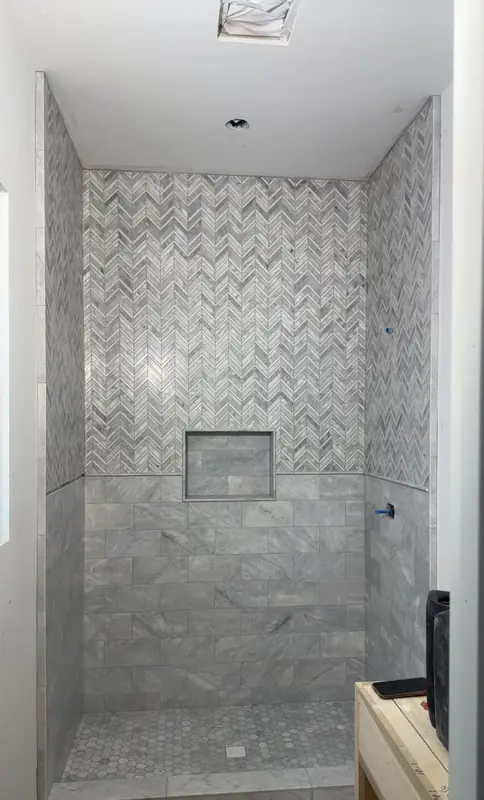
On a Santos job Laid out from the centre
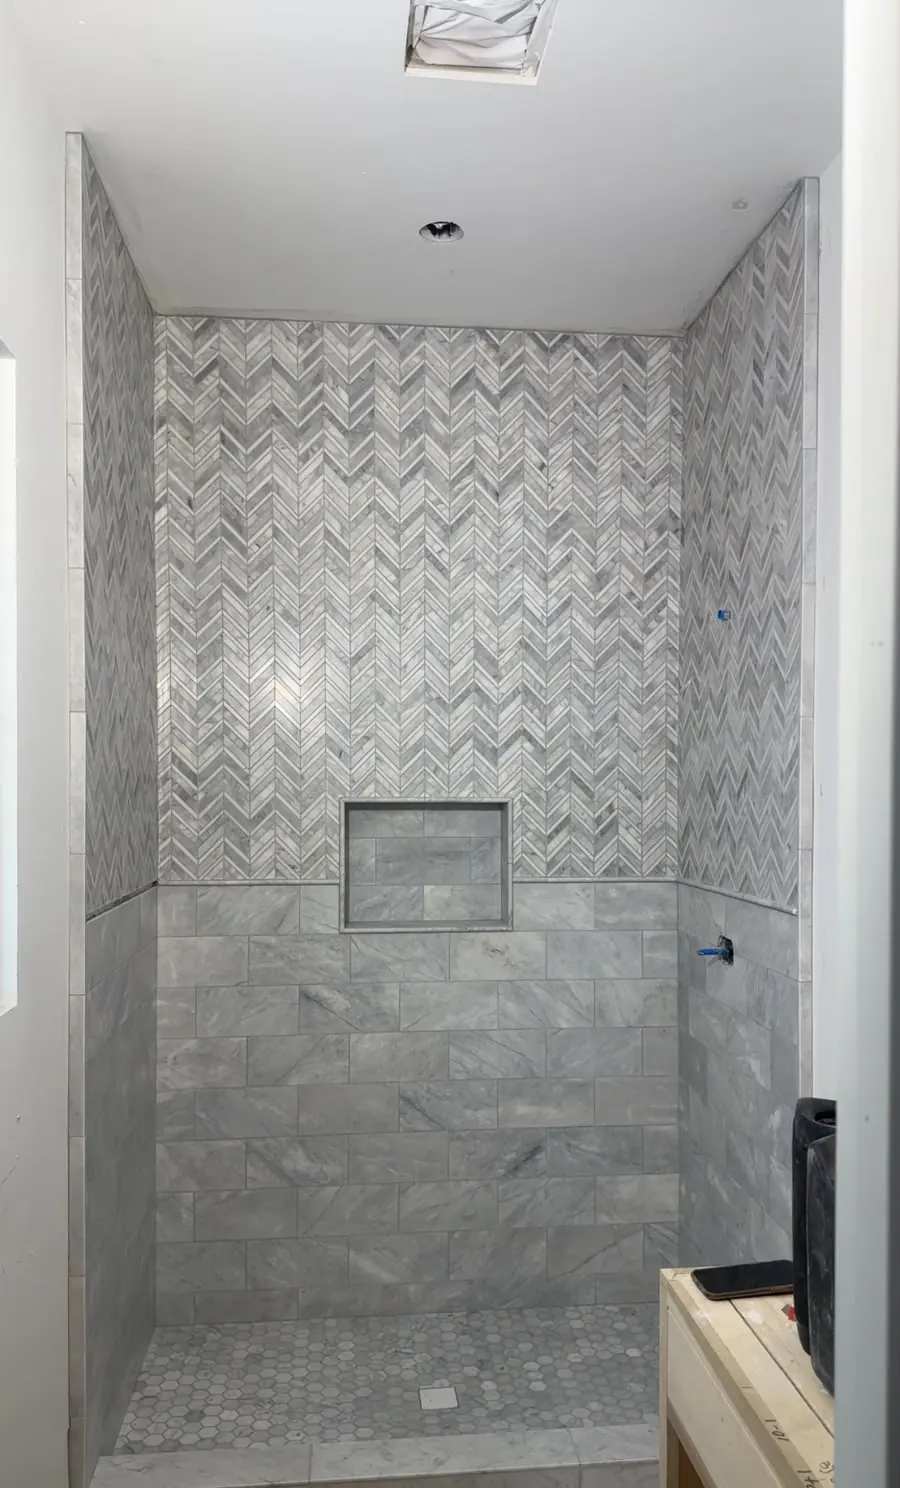
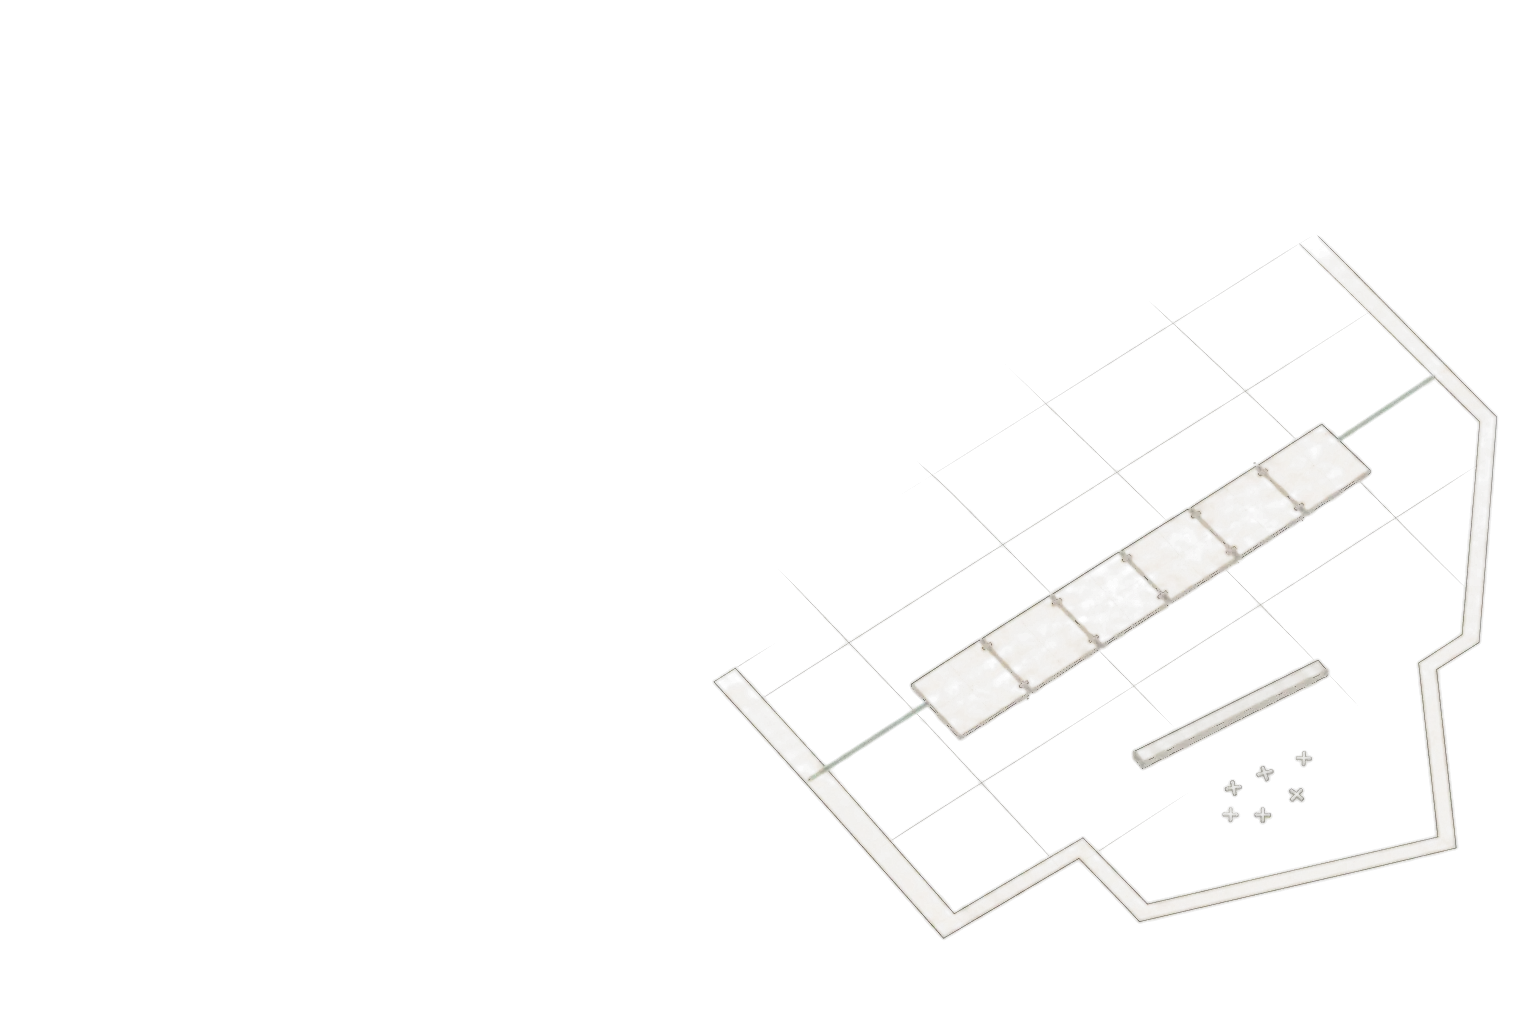
Chevron and herringbone start from a centre line, so every point lines up and the cut pieces at both edges match.
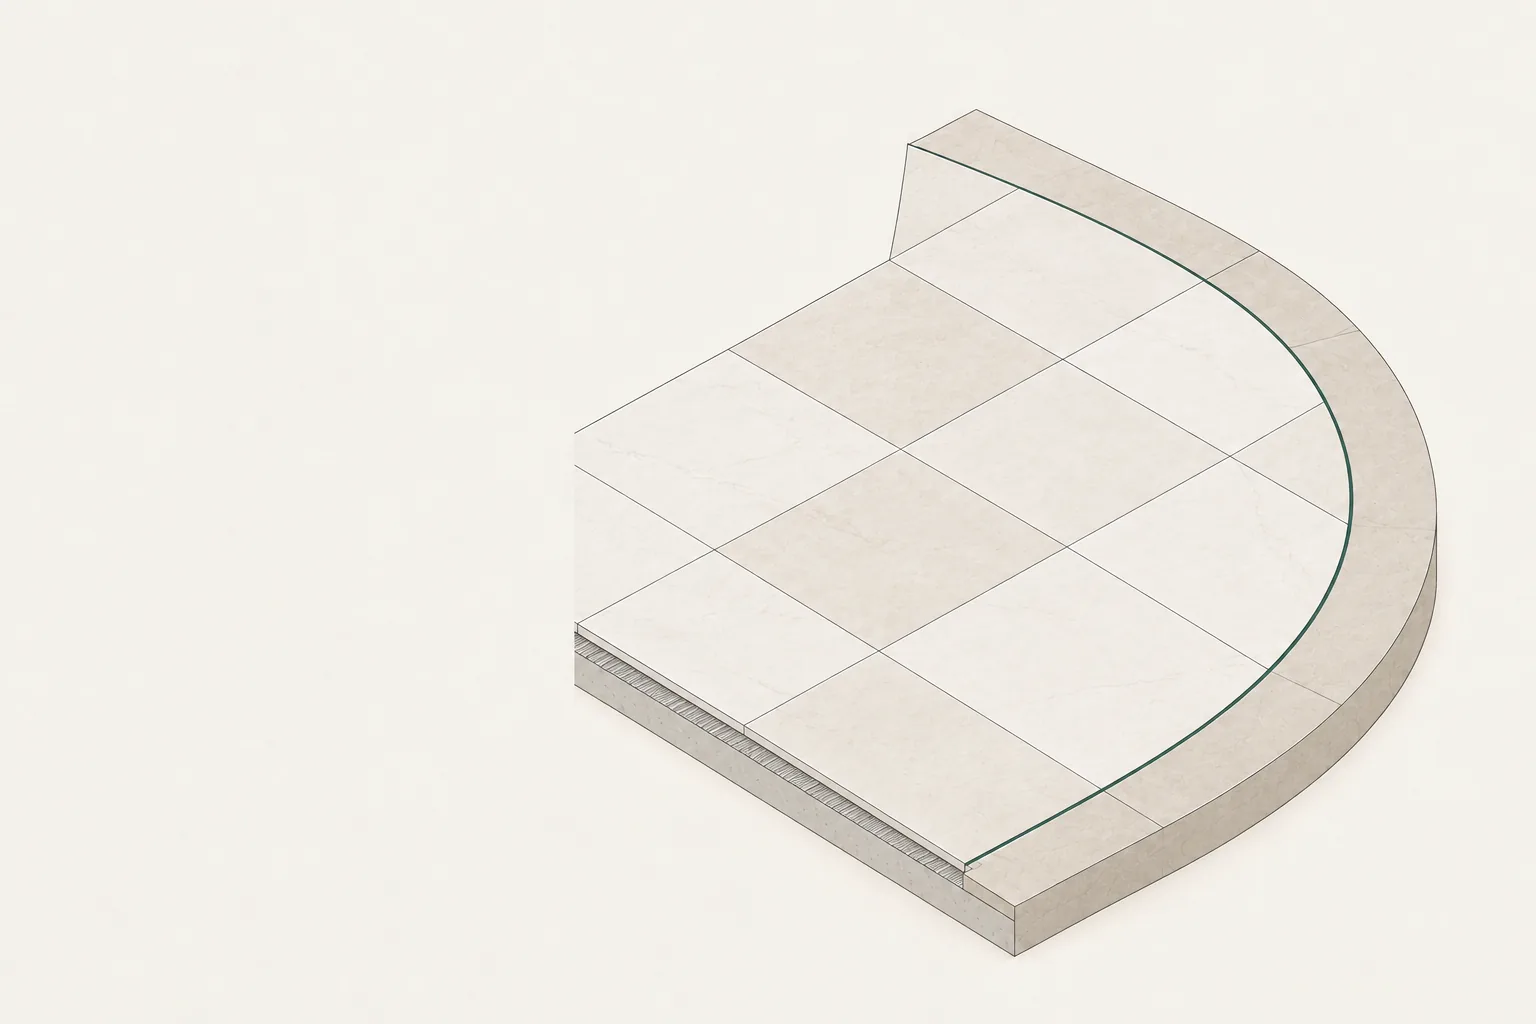
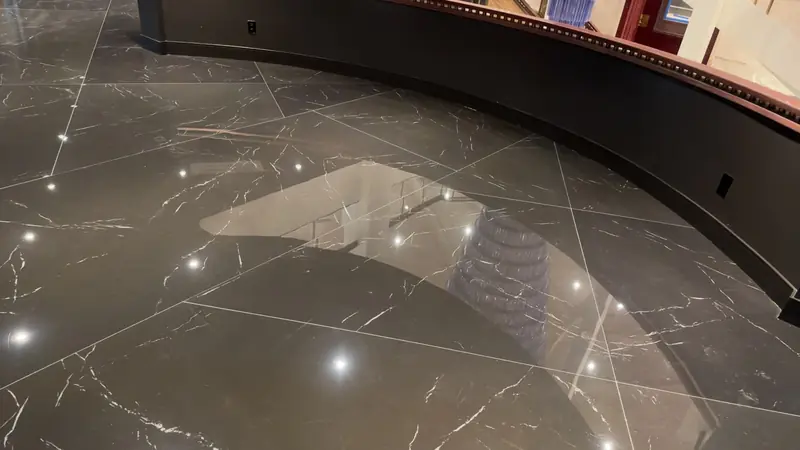
On a Santos job Cut to the curve
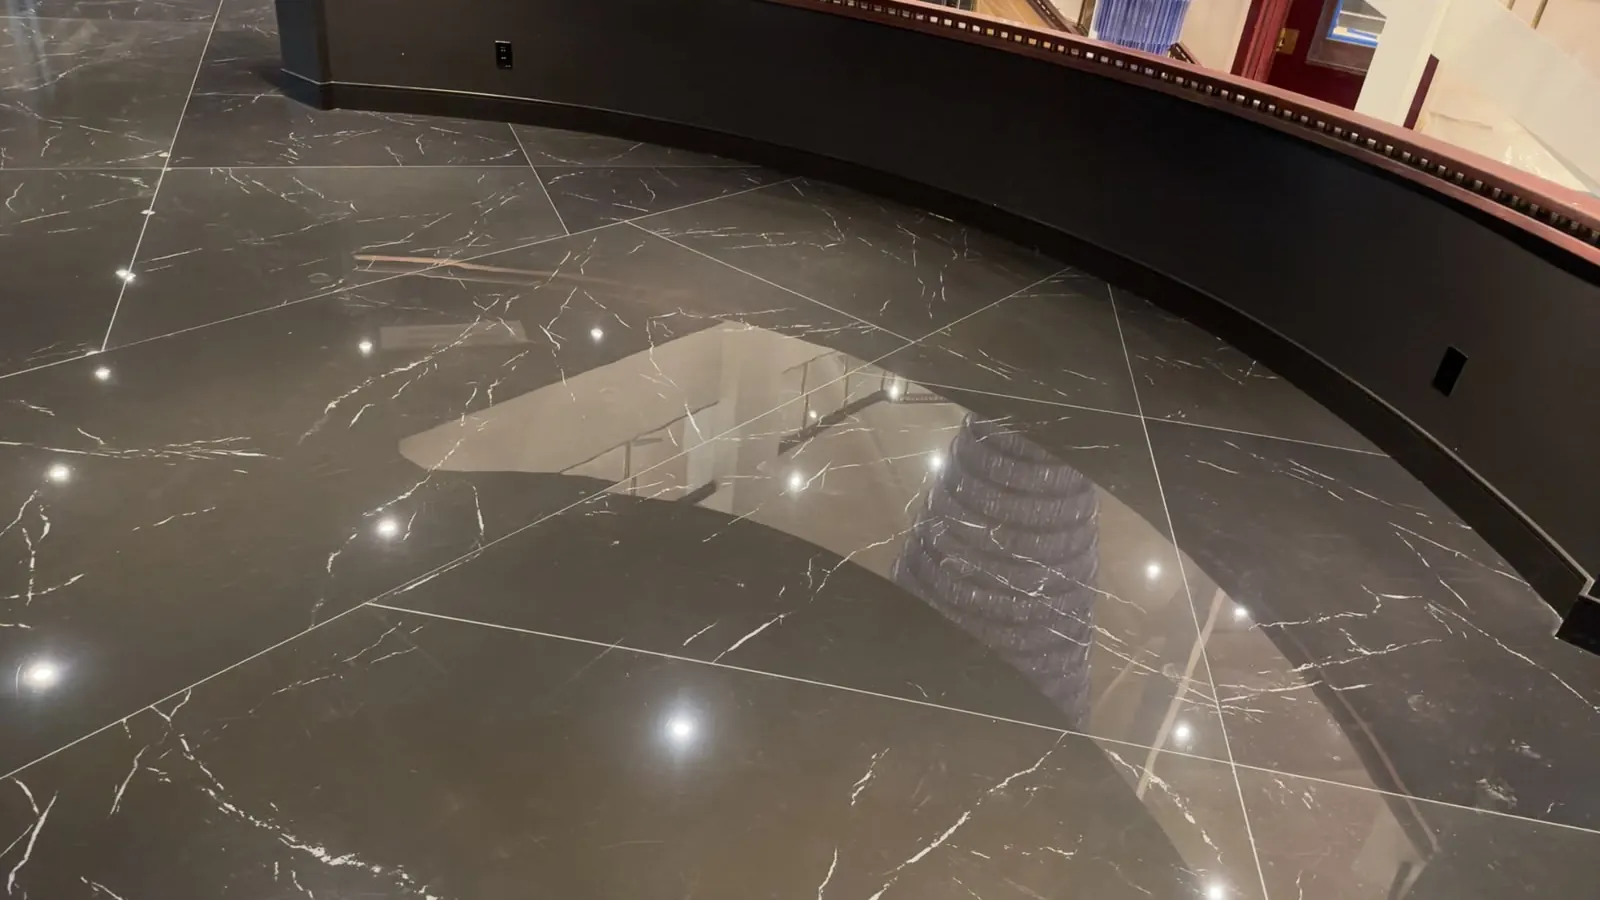
Where a floor meets a curve, each tile is cut and fitted piece by piece, so the joint stays even all the way round.
Our work
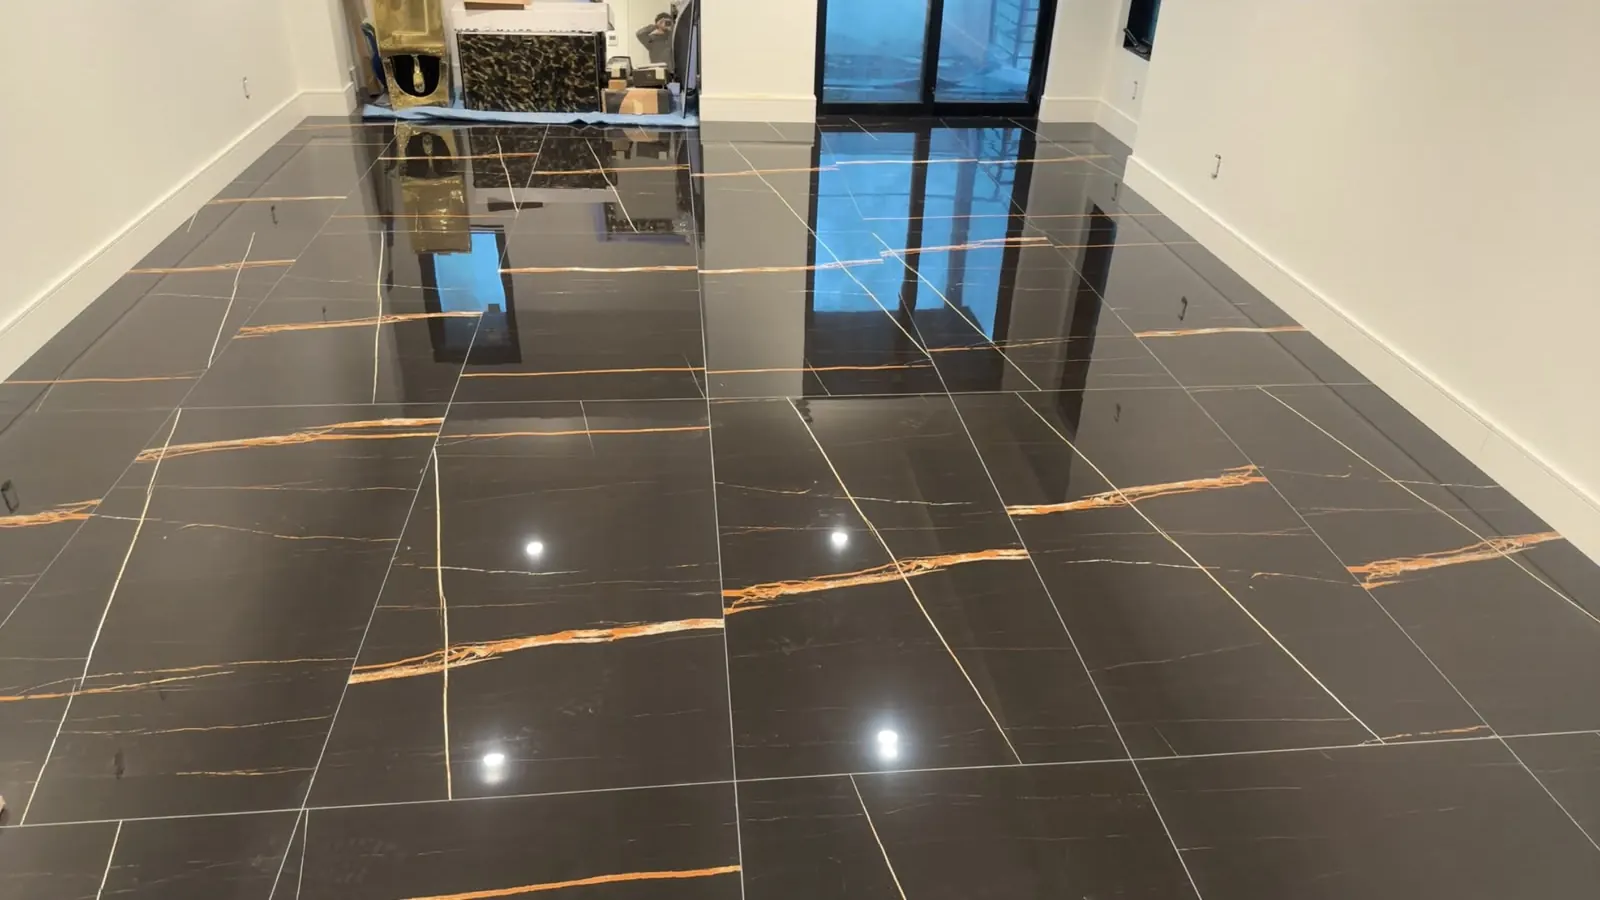
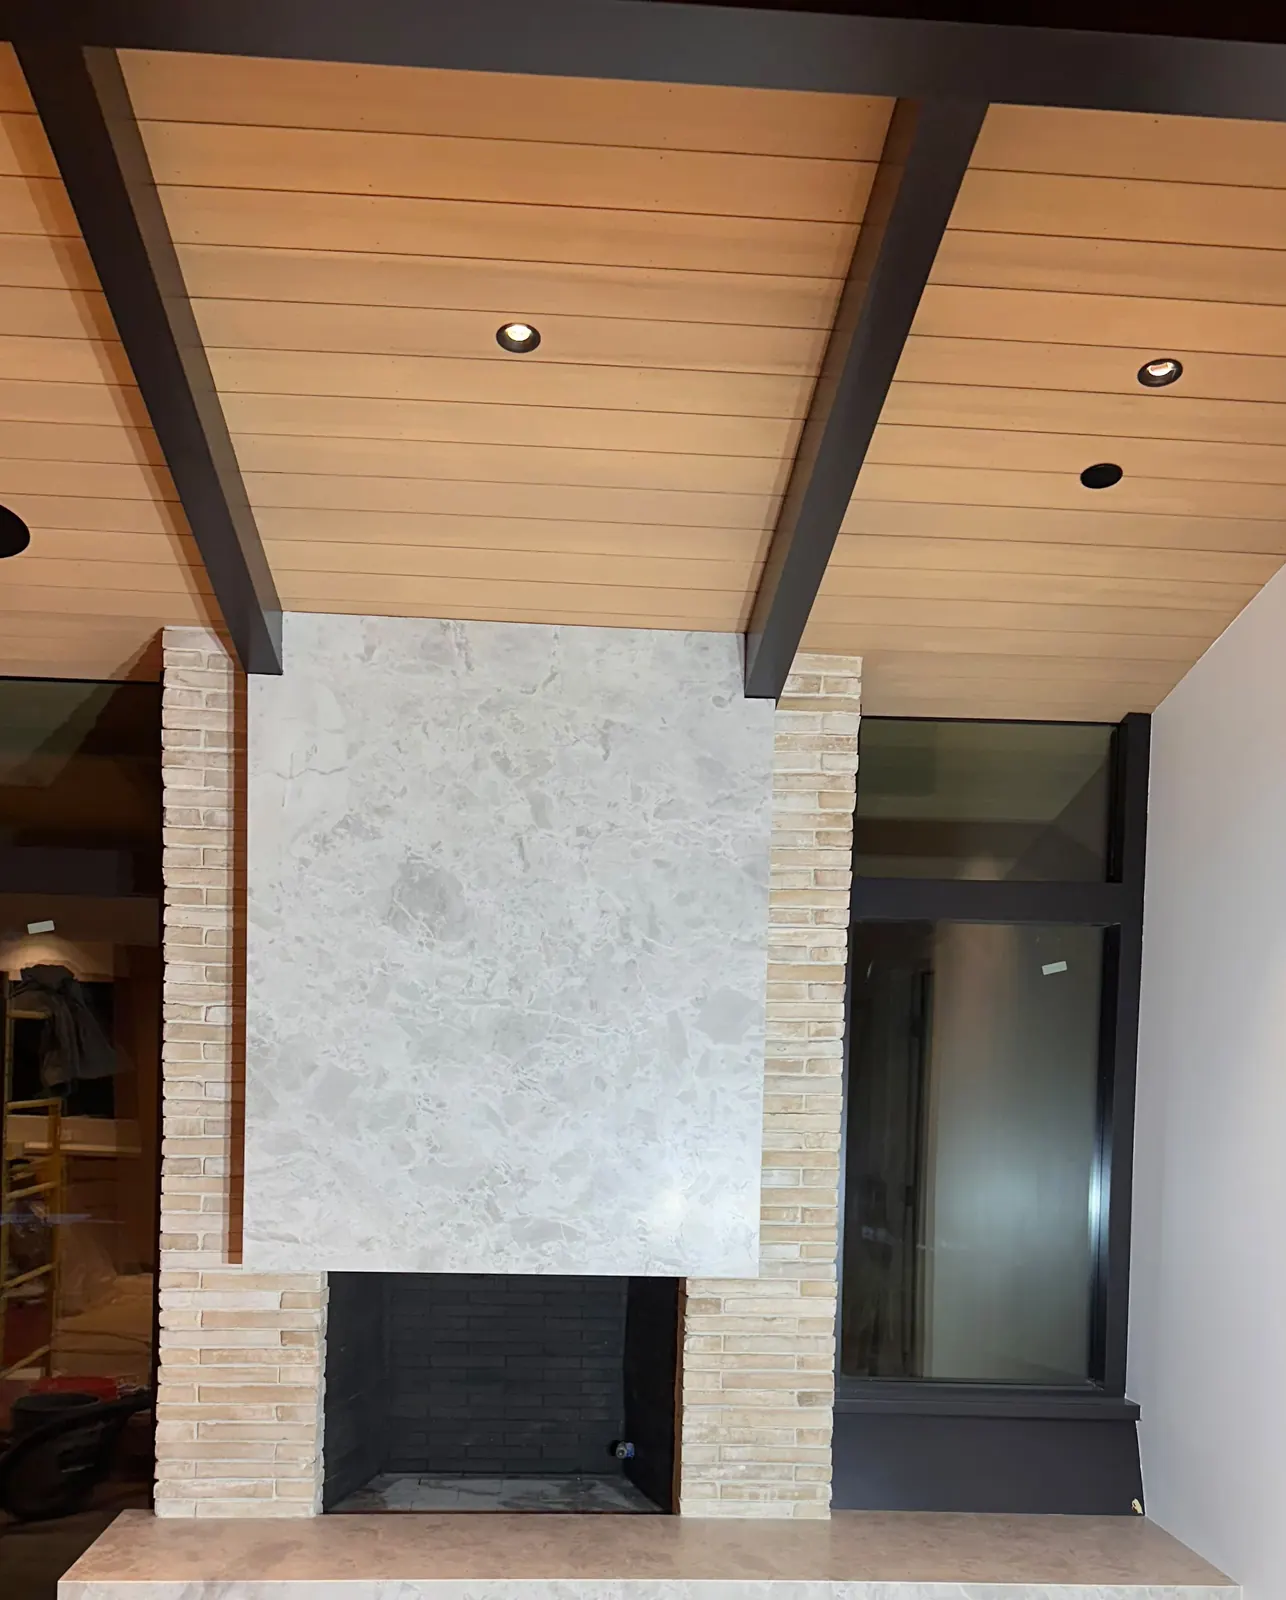
Every photo is a Santos job, taken on site.
How it works
From first photo to finished floor
- 1
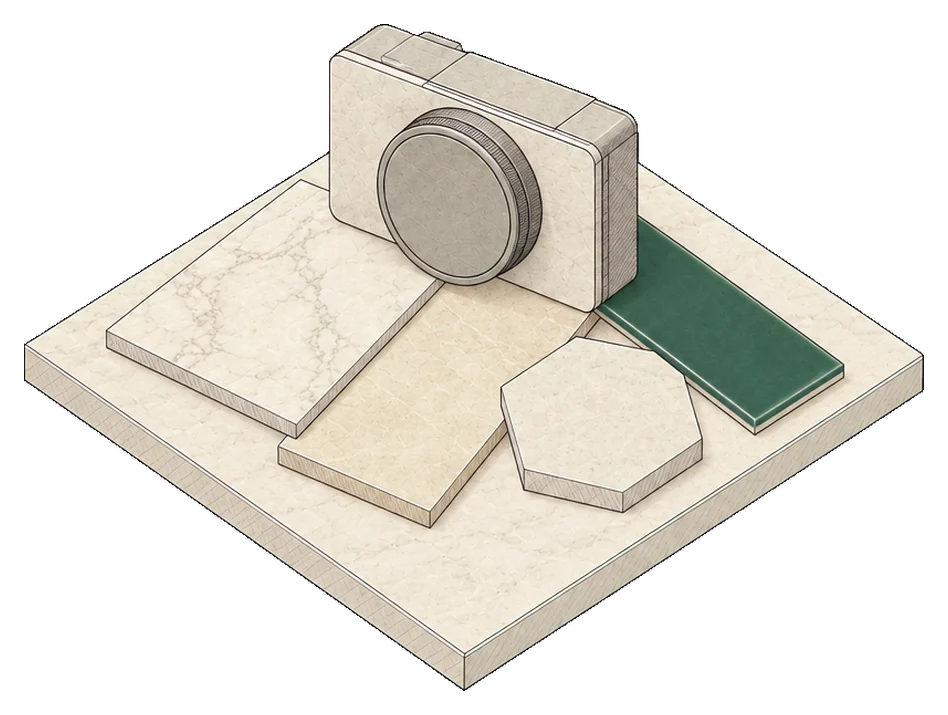
Tell us about it
Send the form with a few photos, or call. Tell us the room, the size and the tile if you've picked it.
- 2
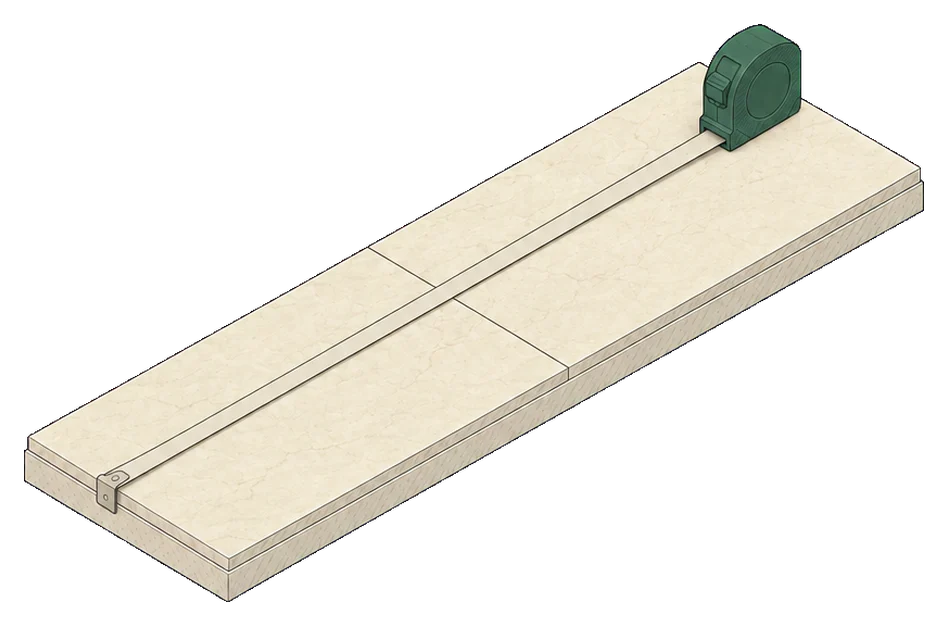
We look and measure
We talk it through and, when needed, come out to see the space and check the floor and walls.
- 3
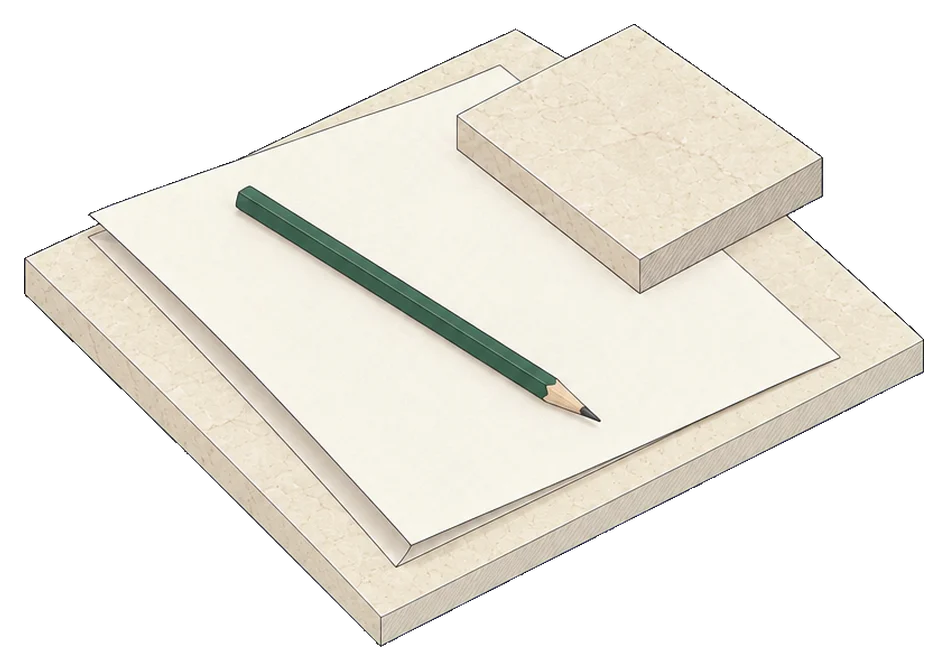
You get an estimate
A written estimate for the work, so you know what's included before anything starts.
- 4
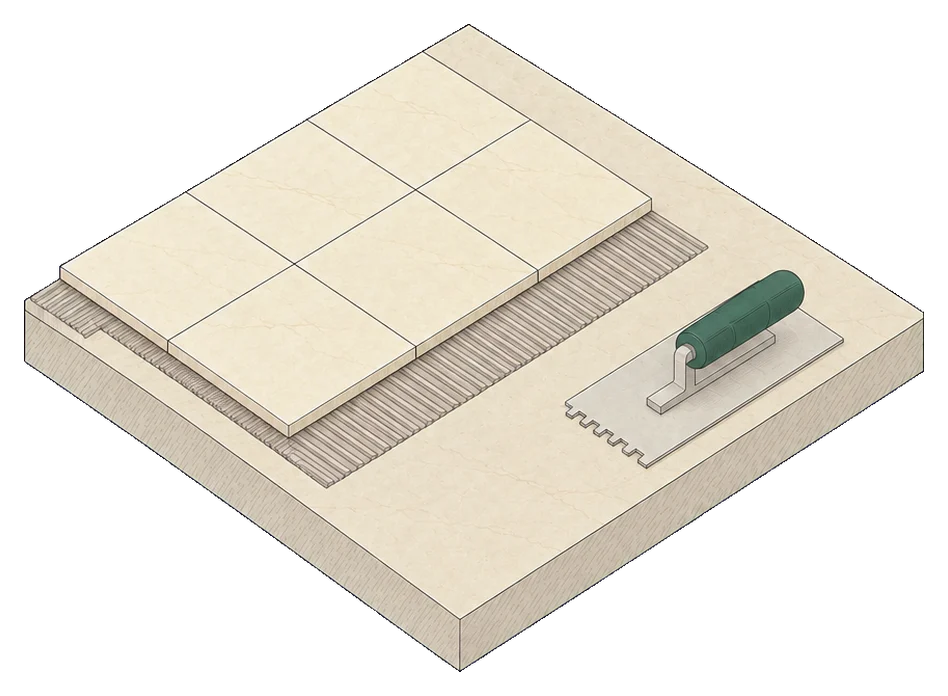
We set the tile
We prepare, set and grout, then walk through the finished work with you.

Reviews
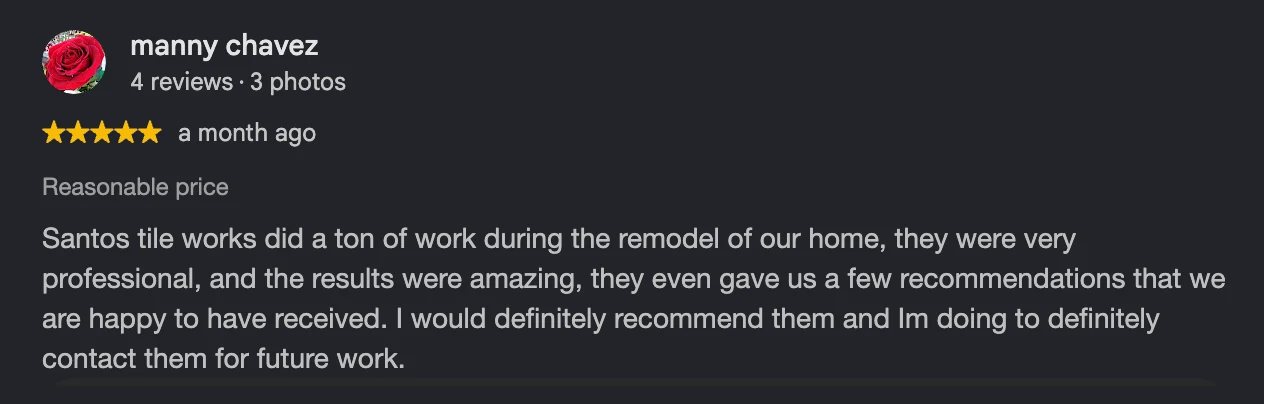
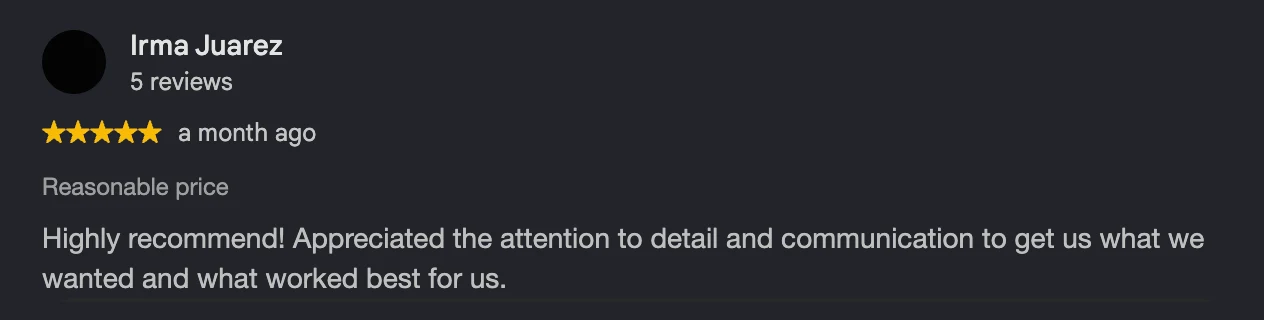
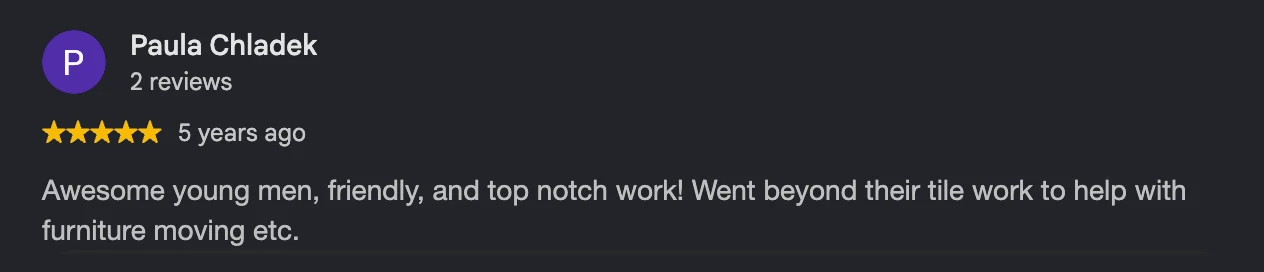
What clients say on Google

Screenshots from our Google Business Profile, October 2026.
Read all reviews on Google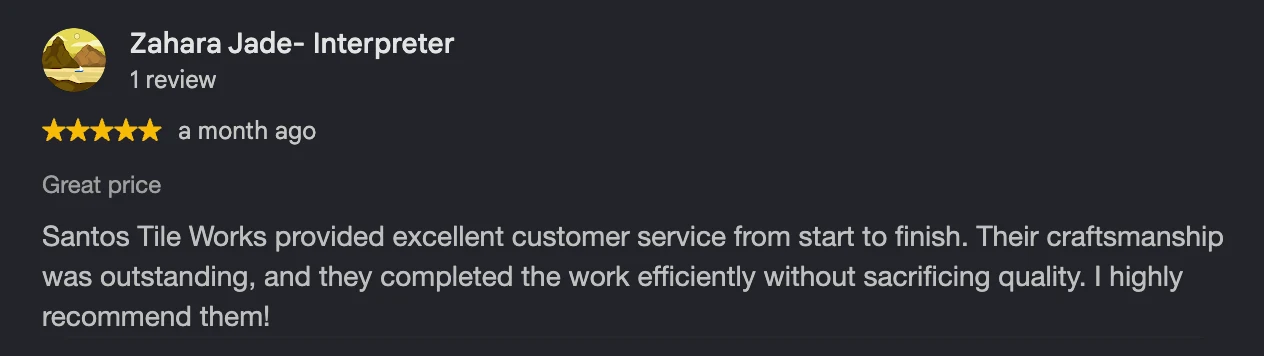

Questions
Common questions
Where we work · Bay Area
- South Bay
- Peninsula
- Coast
Where we work · Central Valley
- Merced County
What areas do you cover?
The South Bay, the Peninsula and the coast, plus Merced County around Los Banos. If you're nearby and not sure, ask.
How do you keep a tiled shower from leaking?
Tile and grout aren't waterproof by themselves. Behind them goes a waterproof layer that covers the walls and floor of the shower. We build that layer first, then set the tile on it.
Can you install large tiles and slabs?
Yes. Large pieces need a very flat surface underneath, so we check and flatten it before setting. You can see large-format floors in our work.
How do I get a price?
Send your project with a few photos and rough sizes, or call. We'll talk it through and give you an estimate.
Do you work with builders and designers?
Yes. We install tile for homeowners, builders and remodelers. Send plans or a tile schedule through the form.

For builders and designers
Installing tile for your project?
Send plans and a tile schedule, and we'll price it. We work with builders and remodelers.

Tell us about your project.
Call (408) 763-0465 or email Nestor@santostileworks.com.